TeamsFx - add custom debug profiles
Introduction
Today’s post is about the need(pain?) of installing your Teams application at the start of every TeamsFx debugging session. If you are new to TeamsFx in Visual Studio please read this intro first as for the next parts we assume that you already familiarized yourself with the toolkit and its features.
There are very good reasons why the Teams Toolkit always starts with the app install screen. At that screen, you can choose where to deploy your app. You can see the current version of your app and all other details of the manifest. But if you are in “the zone”, you might wish that there is a way to get to your latest changes just a bit quicker. What we will be talking about here won’t apply to every possible Teams app, but it works for tabs. To be precise, it works for everything you can create a Teams deep link for.

In general, developers tend to think a lot about how to be quicker or more efficient. Sometimes we overdo it. There are thousands, or probably millions, of examples out there where some dev thought about automating his or her toolchain to the absolute maximum. Just to realise that the overall cost in time of that automation effort is nowhere near the time he or she saved.

Creating Teams Apps
If you think of tabs for Teams, I would always start with a static tab. Even if I know that I end up building something different but just as a starting point I would use a static tab and then over time when the app has a certain level of maturity, I would start to surface it at the extension point of choice. With Blazor, I even would start in a regular Blazor server project and would create a Blazor Library project that holds all the UI components in there and only if I’m already happy with how the app performs, I start to move over to Teams. That might sound like a complex scenario, but for me, it feels like I’m very “efficient” that why and can iterate quickly towards my goals.
Following that approach from above, sooner or later I’ll end up in the need of “F5-ing” my TeamsFx project. And if you are still in the coding zone, meaning you are debugging and trying to understand how your latest code change affects your app, one gets annoyed by the constant need of installing your app over and over again very fast.
Create debug profiles
To overcome that problem you need to understand how the Teams Toolkit configures your Visual Studio project for debugging. Right-click your project file, select “Properties” and then go to the “Debug” tab. We are talking Visual Studio 2019 here, in 2022 the Debug options are also part of the project properties, but the UI changed a bit.

In the Debug properties at the top, you see the profile drop-down. The default one is called “IIS Express”, check the URL that is configured for “Launch browser”. You will see that this actually is a Teams URL that tells Teams to install your app. That is your app ID in the parameters there. And that is what we are going to change.
Don’t just change the default profile, we will repeat in a minute why you will want to keep this. But for now, just create a new profile. I try to name it similar to the Teams Tab I’m going to use. To get your static tab loaded, just copy the Teams link in the “Launch browser” field. In my case, I’m entering “https://teams.microsoft.com/_#/apps/ca708824-a87d-4b6e-82c0-ca9ec5c7a6e2/sections/index?intent=2”. You can copy that URL from your debugging session and just cut the unimportant parameters.
Also, make sure to create the environment variable exactly the same as the default profile does. It’s wired, but if you don’t apply that, your app won’t have the same look and feel. Need to investigate this in detail and, on a CSS level, why this has an impact. All other settings are exactly the same as the default profile.

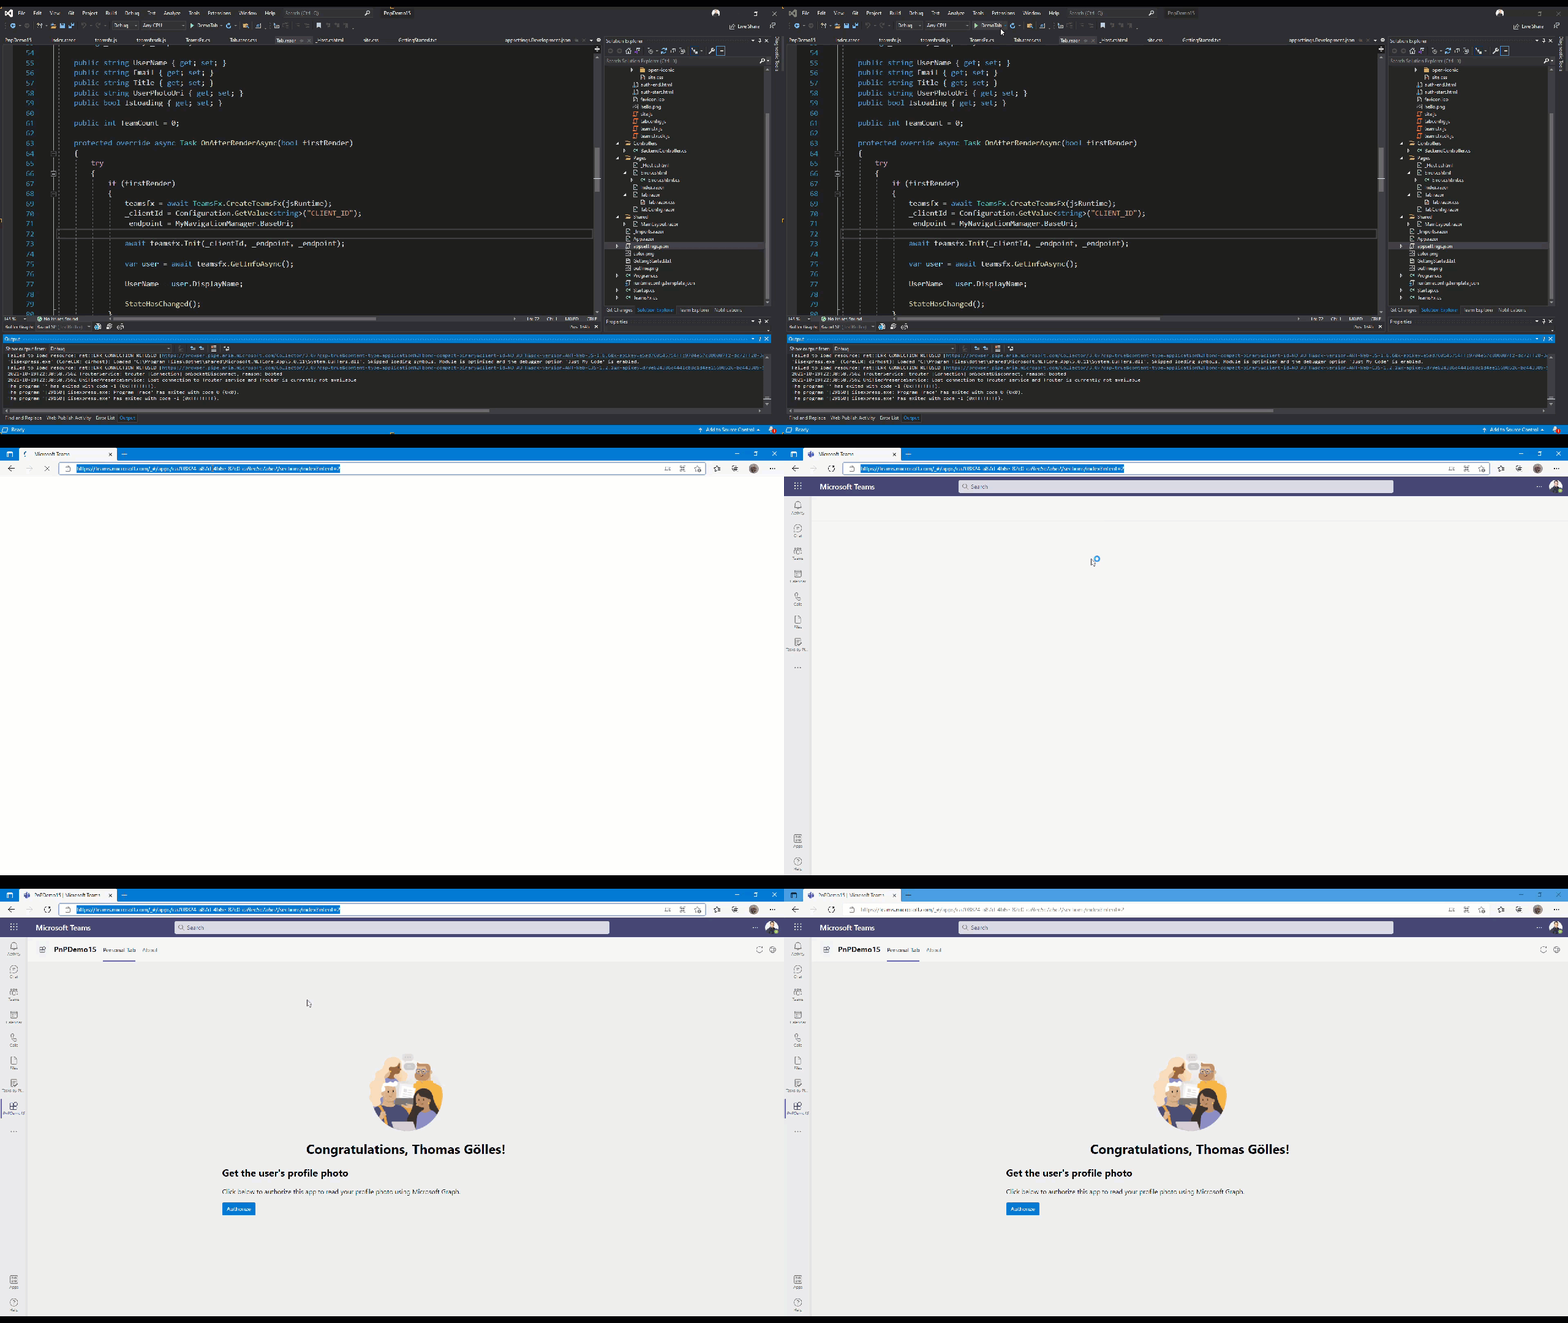
From here, next time you start you want to debug, you can just simply change the value in the Visual Studio toolbar and directly serve your tab. That is especially useful if you have different tabs you create and want to jump between them directly from your debugging session.

As mentioned you should keep the default debug profile to be able to always also open the app install screen. If you create configurable tabs or meetings, you need to install them directly to your test Teams or Channels. So it makes sense to keep that profile in order to be able to really pick the right launch config for your next move.

Disclaimer
I’m pretty sure things will change when Hot Reload in .net 6 will be available. I know that this is only a couple of weeks away, but nevertheless, playing around with different launch options helped me to understand how TeamsFx works and operates in more detail. Hope you find it useful as well and see you next time!


